
Looking for the GA4 tracking code? Or maybe you’re unsure where to place it on your site?
No problem.
In this post, we answer these questions and more, so you can track your Google Analytics stats for your business.
The short answer: The GA4 tracking code is under admin > Data Streams > view tag instructions > and the install manually tab.
From here, you’ll see the code that needs to be added inside your website head tags.
But what if you don’t want to use the manual approach? And what are header tags anyway?
Keep reading as I show you how step-by-step.
Where is the GA4 Tracking Code in Google Analytics?
First off, you need to make sure you have a GA4 property and data stream for your website.
Here’s how to add one.
Go to analytics.google.com and log in to your Google account. If you need to create an account, you’ll see this first:
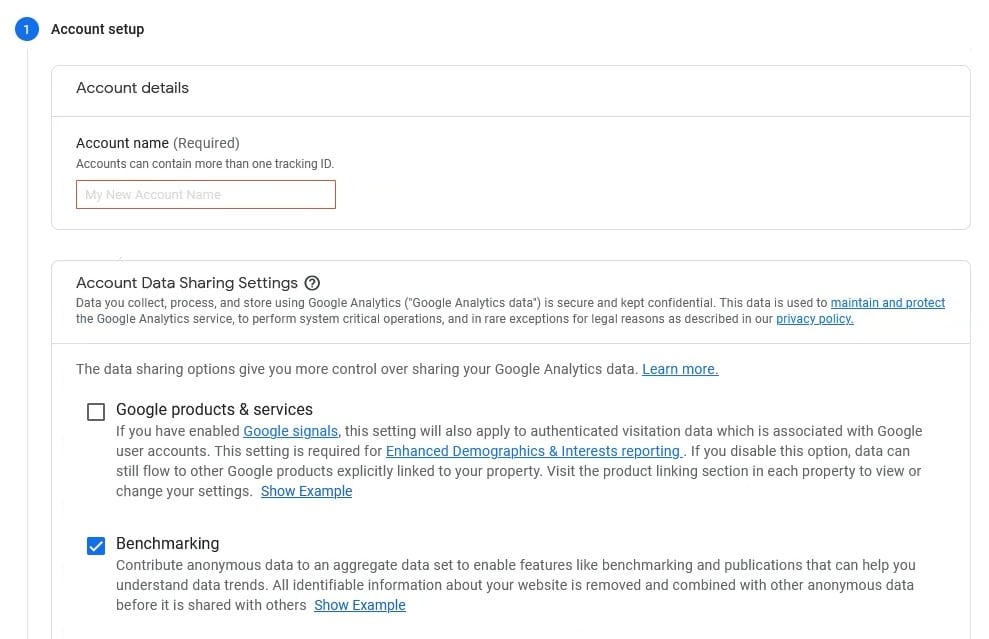
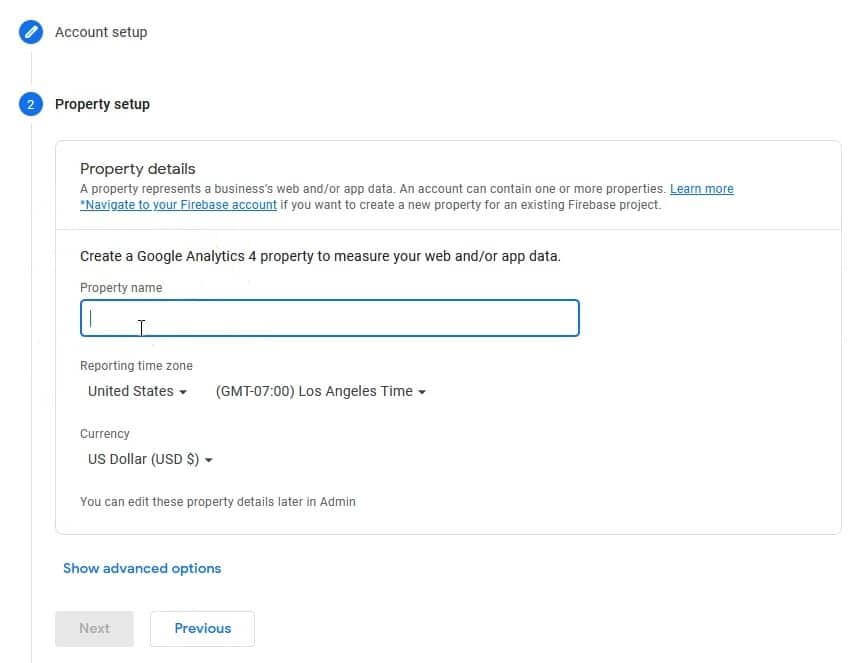
Fill in the details about your website in the fields and click next:
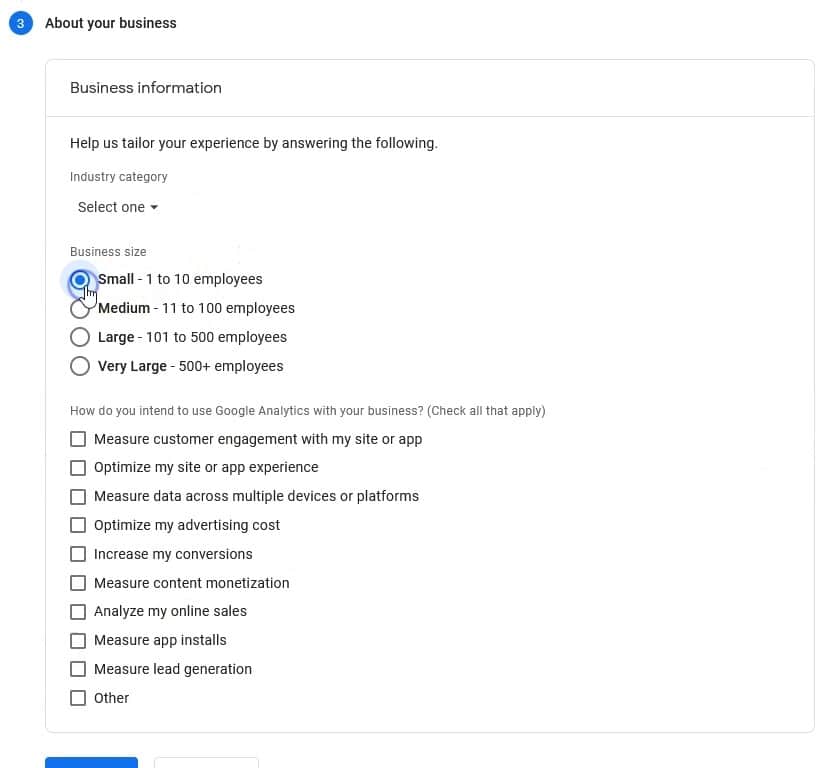
Answer a few questions about your business:
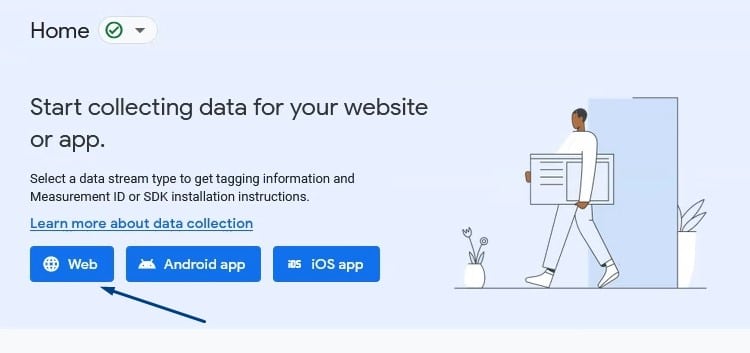
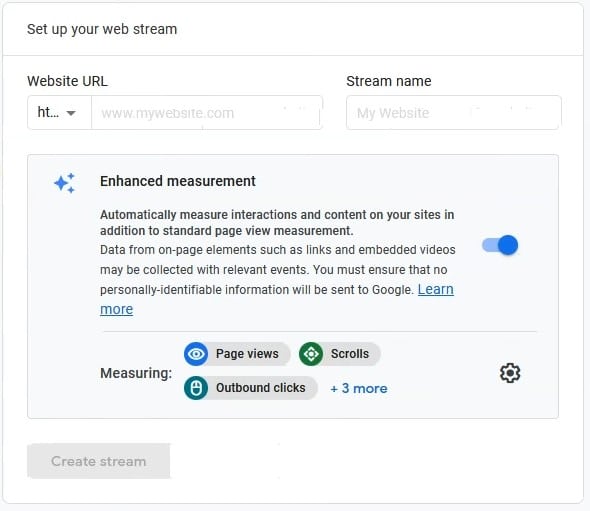
Then click on Web to create your Data Stream:
Enter your Website URL and Stream Name, and click Create Stream. You can leave the enhancement measurement section as it is:
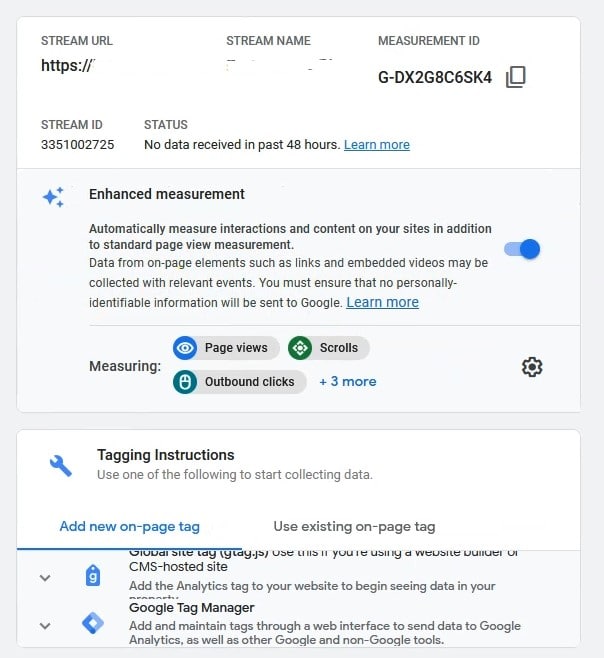
The next screen is where you’ll find your GA4 Measurement ID and Tracking code:
What if you already have a Google Analytics account and data stream but can’t find it?
Here’s exactly where to look.
From the Google Analytics 4 dashboard, hover over the gear icon and click on it to access the settings:
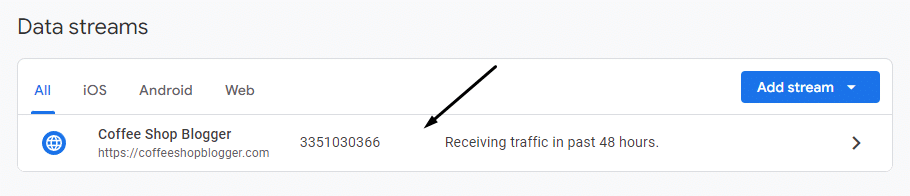
Then click on Data Streams setting:

Click the Data Stream:
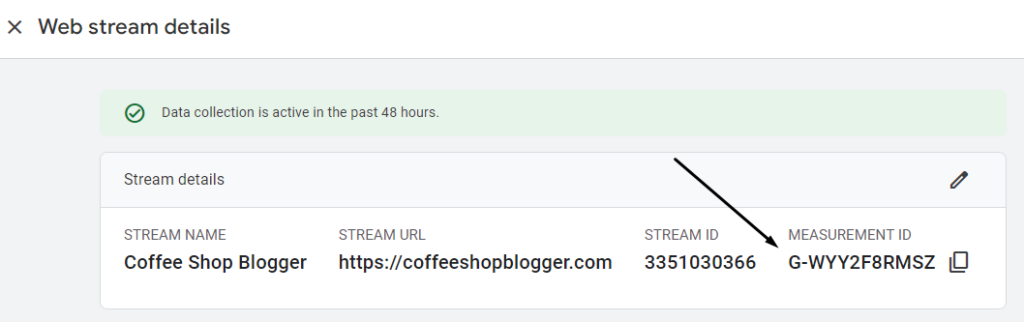
On the Data Stream Details page, you see your GA4 Measurement ID:
But if you need the full tracking code, scroll down on this page and click View Tag Instructions:
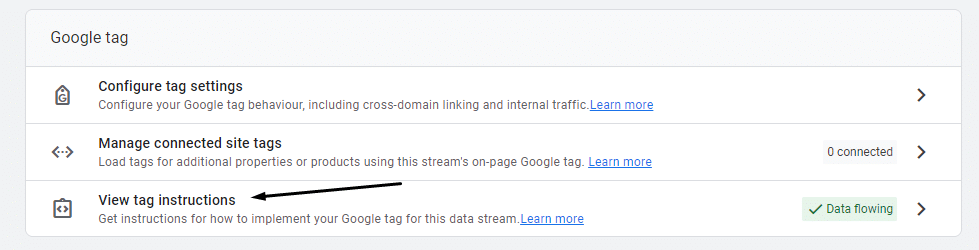
Click on the Install Manually tab, and you’ll see the tracking code:
What’s the Difference Between Tracking Code and Measurement ID
In GA4, the difference between “GA4 tracking code” and “Measurement ID” is the terminology, as they both mean the same thing.
The confusion comes from Universal Analytics because it used to be called Tracking ID. Now in Google Analytics 4, it’s called Measurement ID.
But what about the manual Google Tag?
The code above is called the Google Tag (or GTag) which is code that you add manually to the HTML of your website.
However, you don’t always need to use this code if your website supports the GA4 Measurement ID.
What Does the GA4 Tracking Code (or Measurement ID) Do Exactly?
The GA4 tracking ID or Measurement ID actually does quite a lot in the background.
You know you’re looking at the measurement ID for GA4 because it starts with the letter “G,” followed by some characters:
“G-XXXXXXXXXX”
When you add this code to your site, it creates a connection between Google Analytics 4 and the activity on your website, which gets stored in your dashboards and reports.
Here’s exactly what the measurement ID does:
- Identifies data streams: The measurement ID acts as a unique identifier for each data stream in your property, linking user interactions to the correct data stream in GA4.
- Data collection and tracking: It gets embedded in the tracking code and placed on your website or app. The code then collects and sends data back to GA4 about user interactions, events, and conversions.
- Integrates with GTM: Google Tag Manager is another tool by Google to help manage tags and provide more advanced data collection. You can integrate GA4 with GTM to keep tags more organized and collect more granular metrics.
- Distinguishes from property ID: This means you can have more than one measurement ID for one property. For example, tracking an online store, a blog, and a mobile app.
How to Add Your GA4 Tracking Code to Your Site
Now you know where to find the GA4 tracking code, it’s time to add it to your site. How you add it will depend on the platform you’re using.
Plus, there are a few methods, so let’s break each of them down.
1. Manual Method
The manual method is where you take that scary-looking code and paste it into the HTML of your website.
This is usually the way developers do it because it provides optimal placement for load time and more tracking customizations.
Here’s what to do.
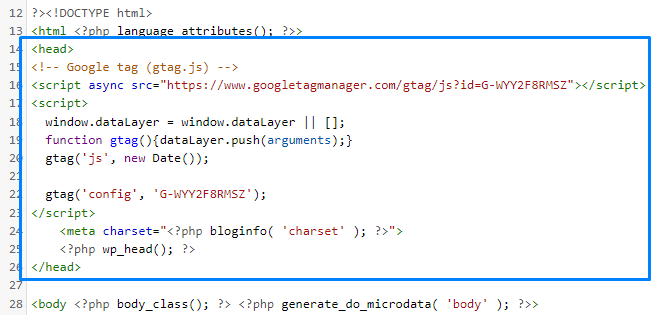
Follow the steps above and highlight this code:
Then, find the file on your website with the <head> tag. In WordPress, this is the header.php file in your theme’s folder.
Just make sure you are editing a child theme first, otherwise, the changes will be overwritten when the theme updates.
Copy the code and paste it immediately after the <head> tag:
If you’re using Shopify, the file to edit is called theme.liquid, which can be found in Online Store > Themes, Customize, then Edit Code.
That’s it! Save the file, and you will start seeing data show up within 24 hours, sometimes much sooner.
2. Using Google Tag Manager
The next method is to use Google Tag Manager, which is similar to the manual method, but you’re adding the code from GTM to your site instead of the GA4 code.
Here is how to do it.
Go to Google Tag Manager and click on Start for free:

Create an account and enter your details for your website:

On the next screen, you’ll see this popup:
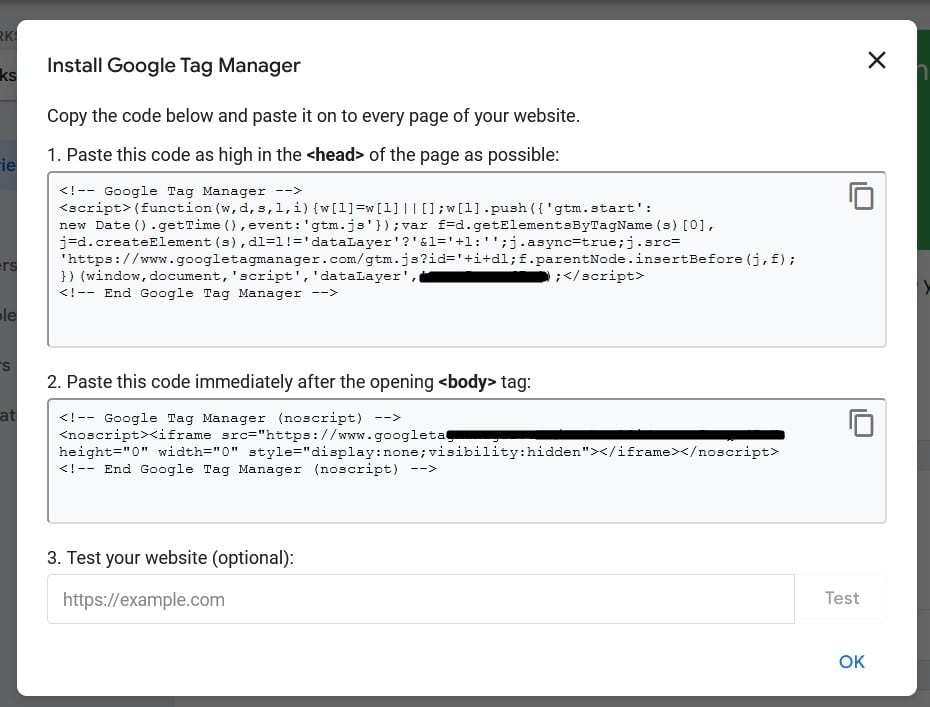
This is the code you’ll add to your site instead of the GA4 code.
Copy the code in the top box and paste it immediately under the <head> tag:

And the code in the bottom box goes directly under the <body> tag:
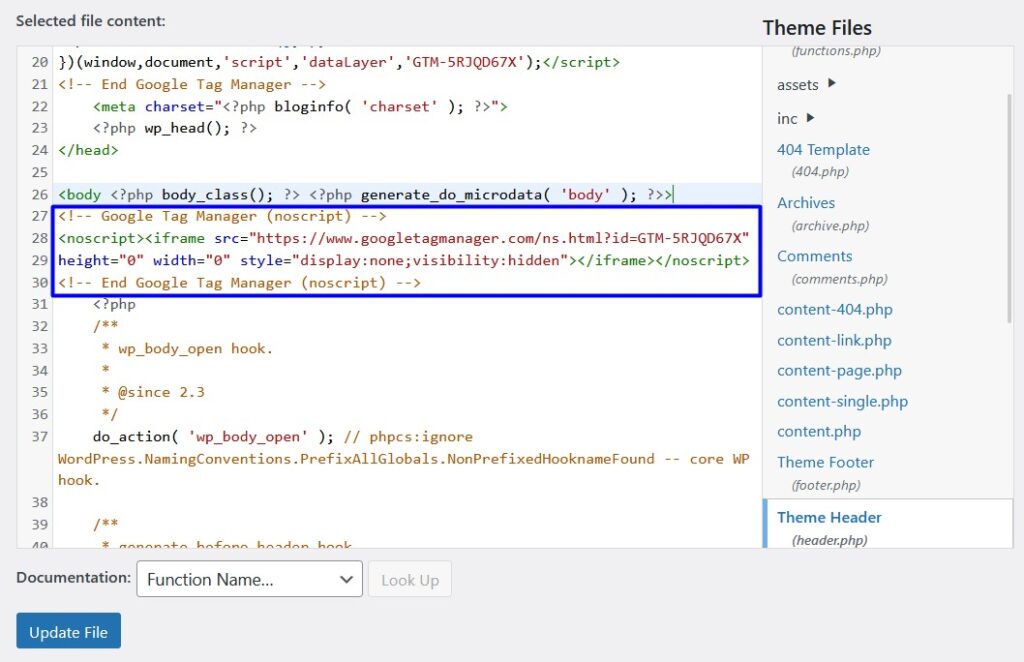
Save your file and then go back to Google Tag Manager.
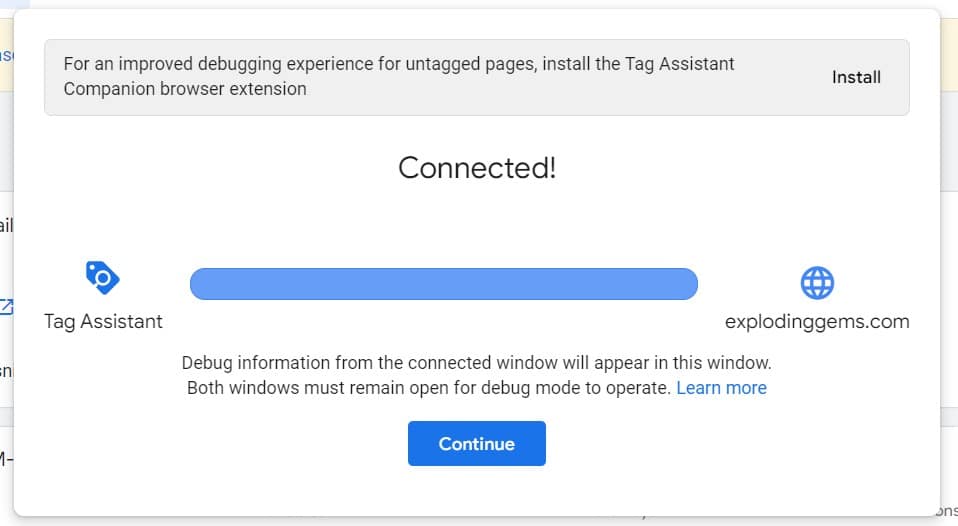
To test if the Tag is working on your site, click the Preview button in GTM:

This will open up a new window to see if the connection can be made. If everything is working, you’ll see this popup box:
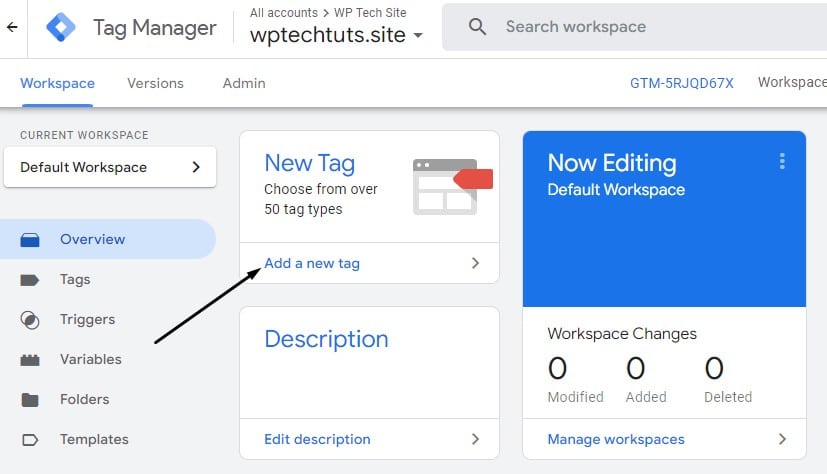
The last step is to add your Measurement ID from Google Analytics to Tag Manager.
Copy the code here:

Then, create a new Tag inside Google Tag Manager:
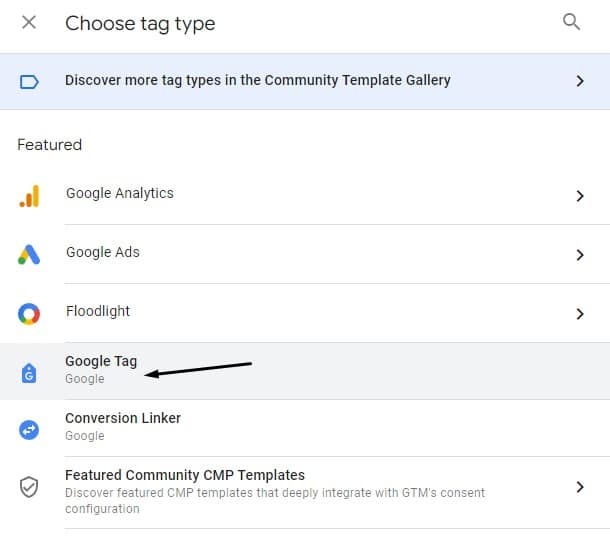
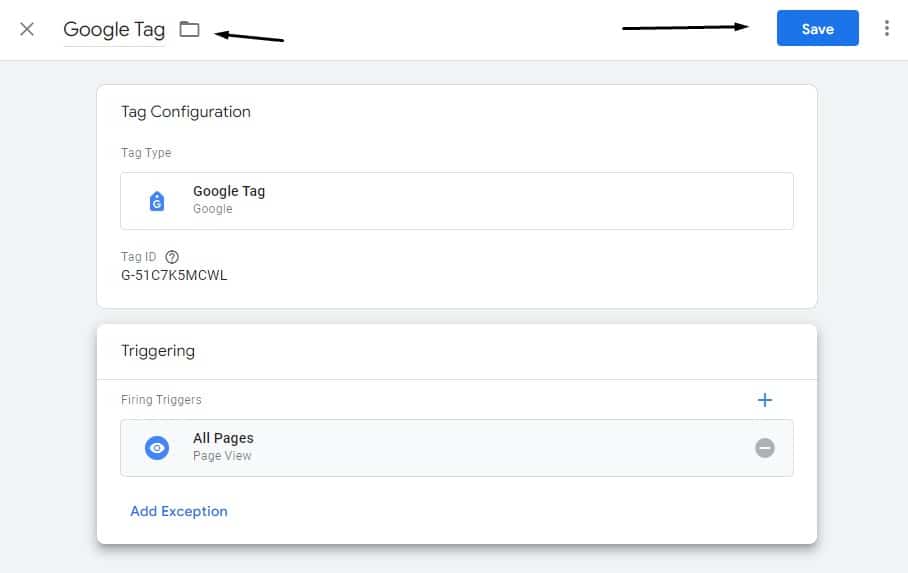
Click on Tag Configuration, then Google Tag:
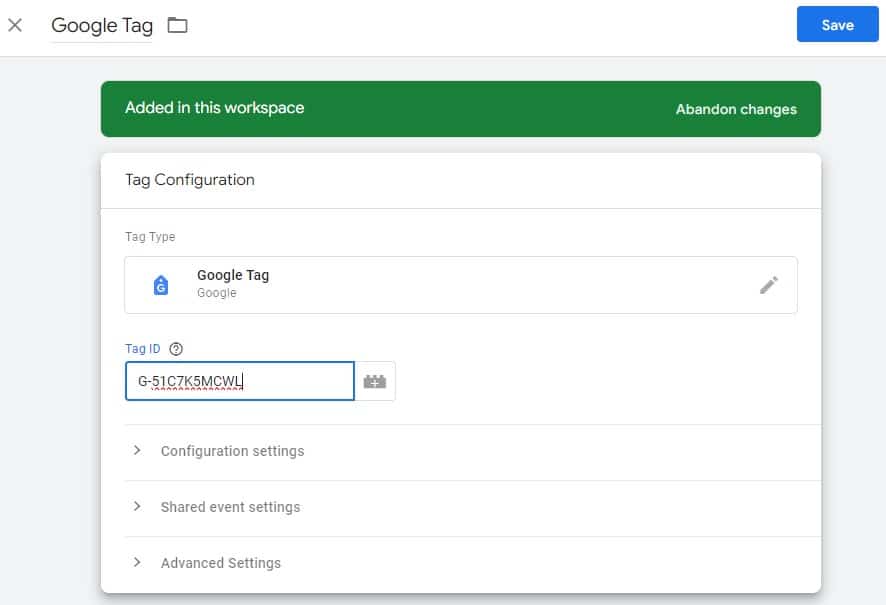
Paste your measurement ID in the Tag ID field:
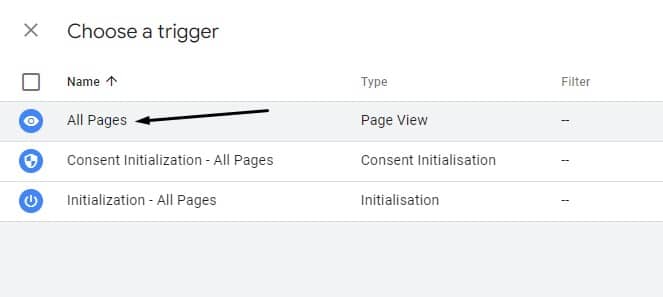
Click the Triggering box and choose All Pages:
Give your tag a title and click on Save:
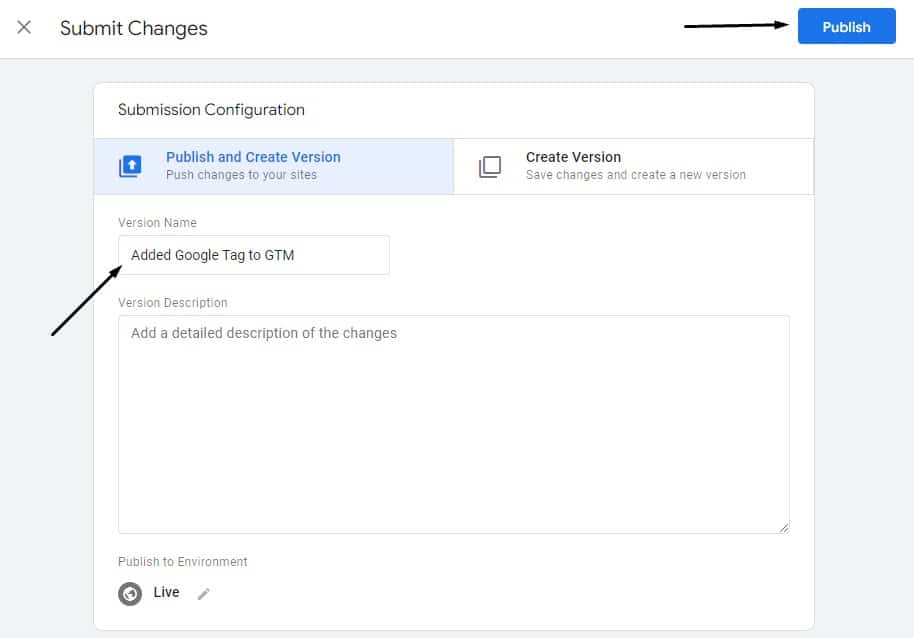
Test the connection again and then save your configuration:
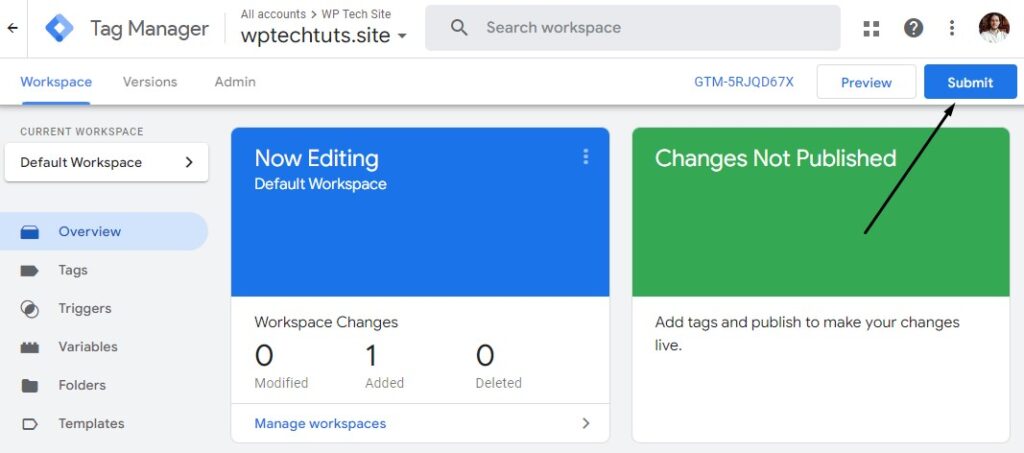
Name the GA4 configuration and click Publish:
That’s it!
3. With a WordPress Plugin
The final way to add the Google Analytics tracking ID to your site is using a WordPress plugin.
But which plugin do you use? I answer that in my post on the best Google Analytics plugins for WordPress.
In that post, I list two types of plugins. One just adds the tracking code and the other adds the tracking code and displays your GA4 metrics in your WordPress dashboard.
Here I’ll show you how to add MonsterInsights because it gives some basic metrics in your dashboard for free and you can upgrade later if you want.
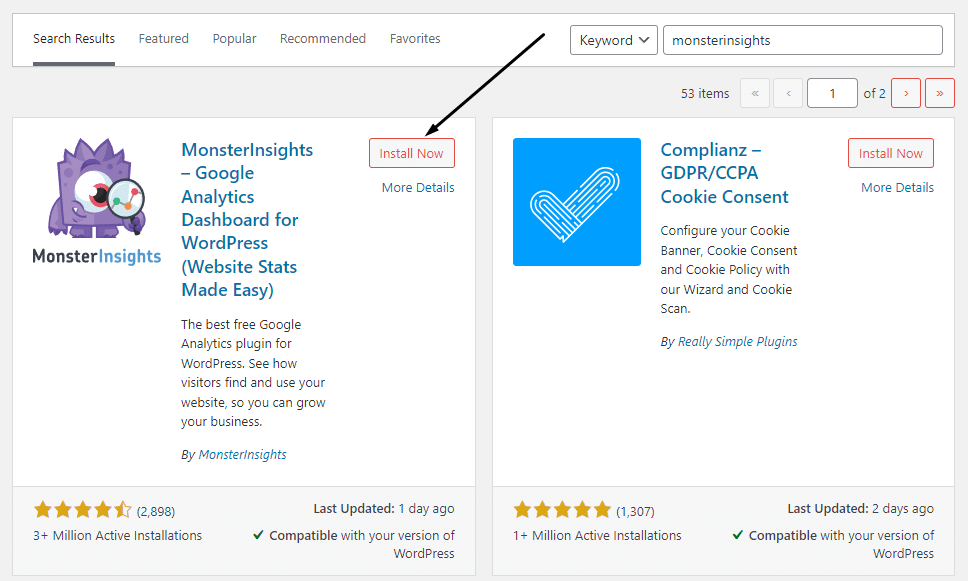
Go to your plugins, add new and search for MonsterInsights:
Then click on Launch the Wizard!

Choose your business type:

Click Connect MonsterInsights:

Click Continue & Connect to Google:

Choose your Google Account, click continue on the next page, and then Allow:

Select your GA4 property from the dropdown:

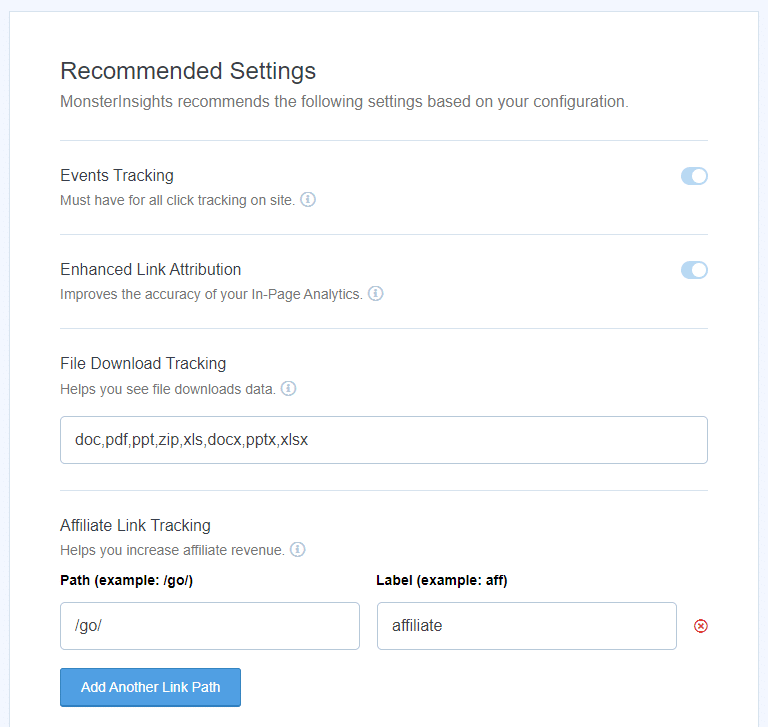
Configure your GA4 settings on the next page:
You’ll be directed to the MonsterInsights dashboard, where you can see your metrics like website visitors:
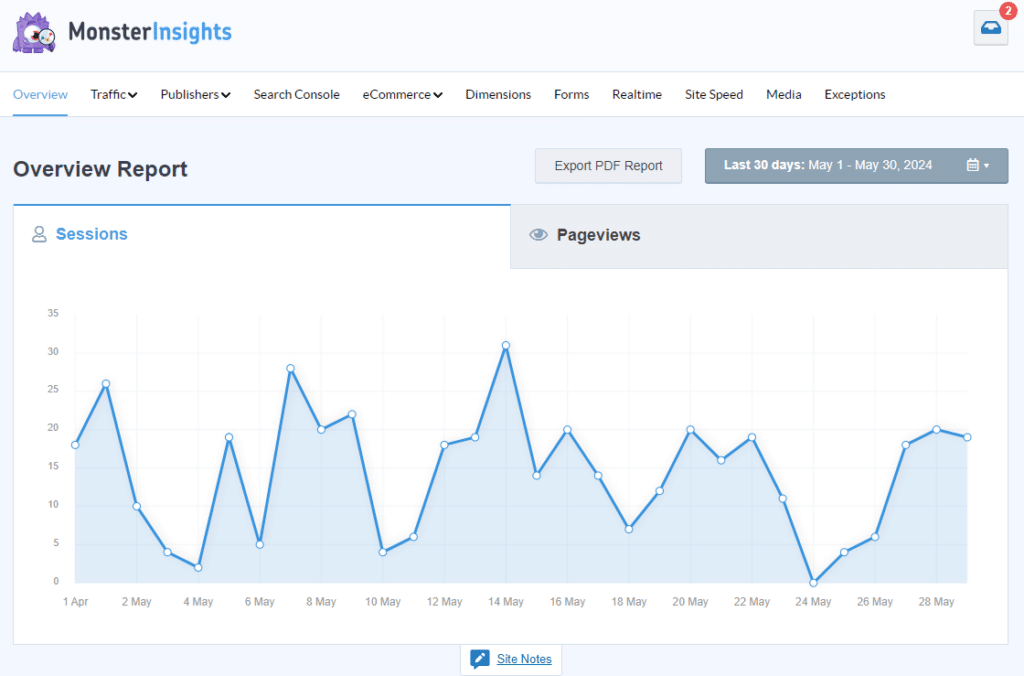
Not only does MonsterInsights display your website metrics, but it also adds the GA4 tracking code to your site so that Google Analytics can collect the data.
That’s it!
Conclusion
Finding the GA4 tracking code and adding it to your site can be a daunting process. But, this article has certainly shed some light.
Now that you know how it’s done, you can track the performance of your website and make any needed changes.
What should you track? Check out our post on engagement metrics to find out.